Sunday, April 20, 2014

LCD Display with Dormant Labs PH Module V2

This is a stepping stone tutorial, and comes after first learning to measure PH, you should review this tutorial first.

For my own purposes I do want the arduino to show ph on a screen, without it being connected to a computer. This is the way I went about it.

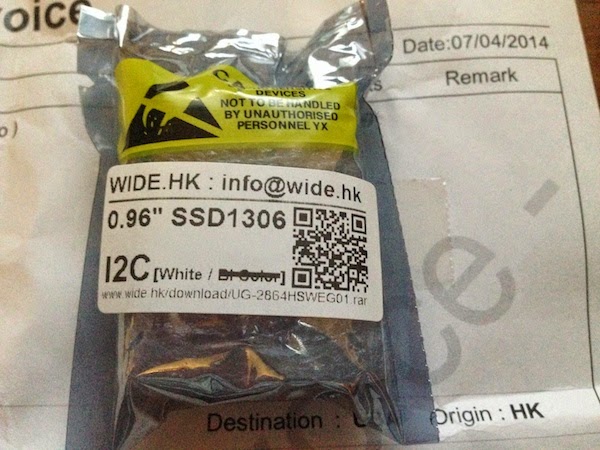
The LCD I got is a "I2C 0.96" OLED display (for Arduino /PIC /AVR ) Blue/Yellow color" from the ebay seller "wide.hk."


So I soldered some 2.54mm pitch pin headers to the lcd, then super glued it to the back of the ph module.


I then connected and soldered the SDA, SCL, VCC, GND pins of the lcd to the SDA, SCL, VCC, and GND pads on the ph module. 


I should note that I only used dupont cables because I had already soldered headers. If I was going to do it again I would just solder wires to both ends. Also, the area I applied the superglue to was the inductor.

So connect the SDA,SCL,VCC,GND pins of the ph module to your Arduino. After that, load up this code through the arduino IDE:

https://gist.github.com/rezahussain/11128896

Follow the same calibration instructions as in the previous tutorial and now your arduino will display the ph on a screen.


Thursday, April 3, 2014

Measuring pH using Dormant Labs PH Module V2 and Arduino

Here is a quick setup guide to start measuring ph using the Dormant Labs PH Module V2.

You will need:
  • PH 4 and 7 Calibration Solution
  • A Arduino
  • Dormant Labs PH Module V2 (available here)
  • A PH Probe
  • Three small cups, two to hold the two calibration solutions, and one to hold water for rinsing the ph probe 
  • 4 dupont male to female cables

First connect the ph probe to the ph module


Then
  • Connect V+ to Arduino 5v or 3v pin
  • Connect GND to Arduino GND pin
  • Connect SDA to Arduino SDA pin(For UNO it is A4)
  • Connect SCL to Arduino SCL pin (For UNO it is A5)
  • Attach USB to Arduino


Get the source code from here:
https://gist.github.com/rezahussain/bb7715534688d8dc0520

and upload it using the Arduino IDE. If you do not have the arduino IDE get it from the arduino site.

After uploading the code, open the serial monitor and you should see output like this:


You are now ready to calibrate your ph probe.

Fill one cup with PH 4.0 calibration solution, one with 7.0 calibration solution, and a third with water.
Remove the cover from the ph probe and rinse it with water.


Then dip the probe in the 4.0 solution, swirl it around for a little bit, and write down the value you see for the avgPhVolts. For me, I saw 0.95v.


Rinse the ph probe in the water, then dip in the 7.0 calibration solution and write down what you see for avgPhVolts.


Here are the values I got:


Now I replace the volt4, volt7, and calibrationTempC, then re-upload to the Arduino.


After re-uploading your probe is now calibrated! The serial monitor of the arduino IDE will show the correct information. Edit the code as you like now.