So I got the idea to make a electronic badge... my idea was to make a chronoboosted cybercore.
I picked a attiny45 and decided to do charlieplexing for the leds. Here is where I found out that ATTiny is supported by a 3rd party for the Arduino IDE
The part that I picked was SMD, so for prototyping I got a DIP adapter ready with solder paste...
Time to heat up the hot air station to melt the solder paste.
Here we go
All done!
Now to prototype a circuit. I have added power and another breakout board for the programmer, as well as an led to test the blink program.
It works!
Now I need to design a pcb. The first thing is, I need to add the battery holder to my CAD program. It looks like this.
Here I have finished adding it to the CAD program. I use Eagle btw.
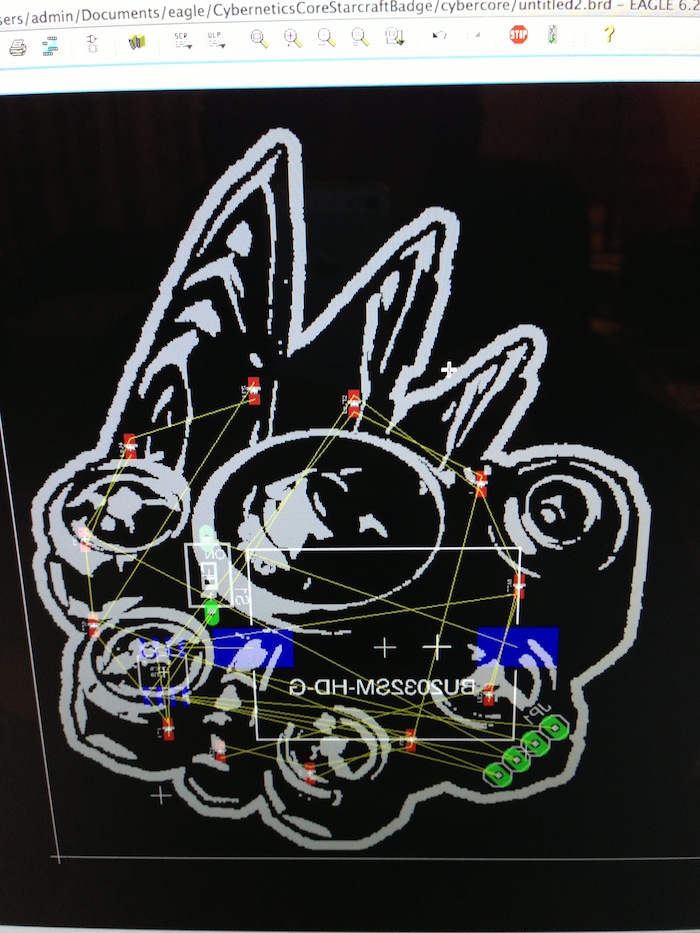
Time to lay out the pcb.
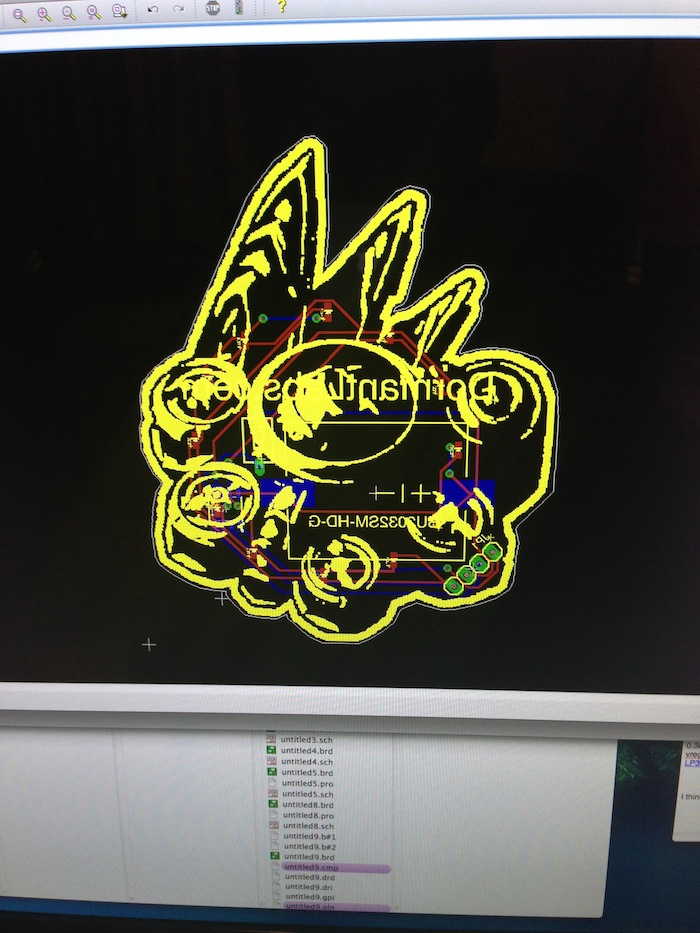
Now to route the traces.
Finish generating the files.
Heres a better look at the wire routing. Need to make sure that the wires don't cross inappropriately.
Ordered a set from batchpcb. Here they came in!
I have ordered parts already to populate the pcb.
So here is the pcb with solder paste applied to the led pads.
To put things in perspective, the leds are 0603 size. Not as easy to solder.
Here is the pcb with the leds placed on the solder paste.
Time to heat up the hot air station again.
All done!
Now I solder the components on the other side with a soldering iron. (If I use hot air on the opposite side then the led solder will melt and they will fall off). I used flux to solder the ATTiny.
This is how it looks with everything soldered from the top.
Funny story, when I originally ordered parts I also ordered a CR2032 battery, but mouser wanted me to pay 7$ to ship a 0.45 cent battery. They don't ship them in cheaper shipping like priority mail because they can explode and catch the package on fire, that is what the support lady told me. So I took the battery off my order. Then I went to pick up a battery the day I assembled the board, but because it was Christmas Eve, all the shops were closed. I decided to solder two power wires so I could use an external power supply.
All ready to program.
It works!
A video is here. One thing to note is that in real life it looks more like a chronoboosted cybercore because the leds leave an after image in your eye. There also isn't any lense flare. So tomorrow I will buy a battery then cut off the power wires and glue a safety pin to it so I can wear it.
So I found some coincells in my dresser! Here is another video.


